
Bathroom remodelling sequence explained: create both practical and beautiful bathroom space
Bathroom as our daily life in the frequent use of space, its decoration design is crucial. It not only affects the comfort of family members, but also has a direct bearing on the hygiene and health of the living environment. This article will provide you with a detailed bathroom remodelling sequence guide, from design planning to material selection, to waterproof treatment and decorative style, to help you create a practical and beautiful bathroom space.
Ⅰ. Bathroom remodelling process
Design Planning
Before starting the remodelling process, the first step is to carefully design the layout of the bathroom. Consider the proper layout of the bath area, toilet area and sink to ensure that the space is maximised.
Demolition and Clearance
Remove old bathroom fixtures, tiles, etc., if necessary, in preparation for the new renovation. Clean the bathroom thoroughly to ensure a tidy construction environment.
Plumbing and Electrical Remodelling
Remodel plumbing and electrical wiring according to design drawings. Reserve enough sockets and switches to ensure that the plumbing and electrical remodelling meets safety standards.
Waterproofing
Waterproofing is a key step in bathroom renovation. After cleaning the wall and floor, apply waterproof coating at least twice to ensure the waterproof effect. The waterproof layer needs to be 180cm high on the wall, and the shower area needs to be waterproof on the whole wall.
Floor and wall tiling
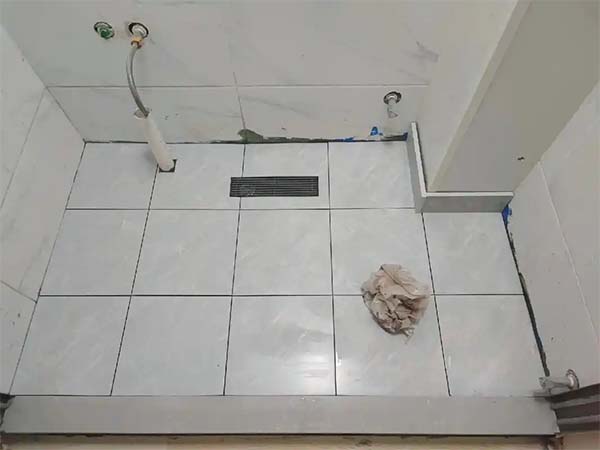
Floor tiles first, then wall tiles. Choose the right tiles, according to the design plan for paving. Note that the floor tiles need to have a certain slope, so as to facilitate the flow of water to the floor drain.
Installation of sanitary ware and fittings
After the tiles have dried, install toilets, wash basins and shower facilities. Ensure all installations are sturdy and plumbing connections are correct.
Installation of electrical appliances and light fixtures
Install appliances such as exhaust fans, water heaters, and light fixtures. Make sure all wiring connections are secure and appliances are working properly.
Sealing and Cleaning
Use waterproof adhesive to seal the joints between sanitary ware and walls. Thoroughly clean the bathroom and check that all fixtures are in place.
Decorating and finishing
Add shower curtains, towel racks, mirrors and other decorative items. Complete the final touches and finishing touches.
Ⅱ. Design Planning Details
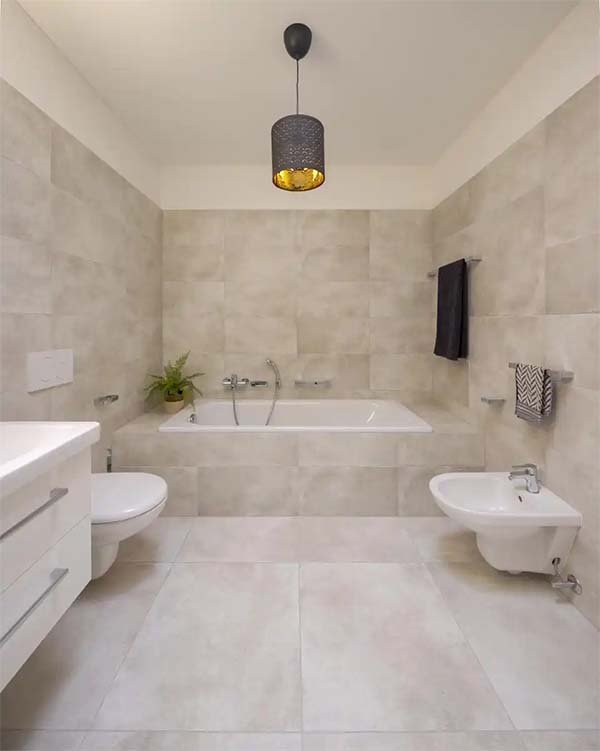
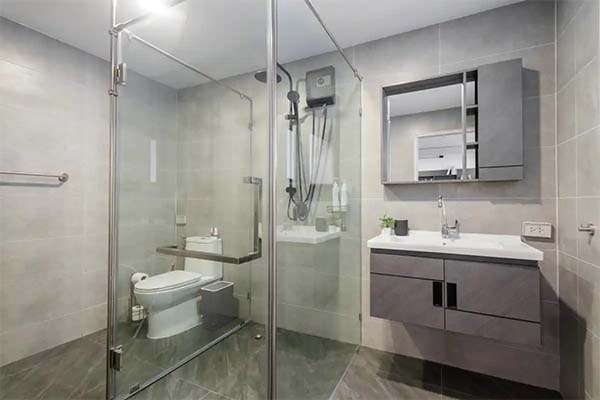
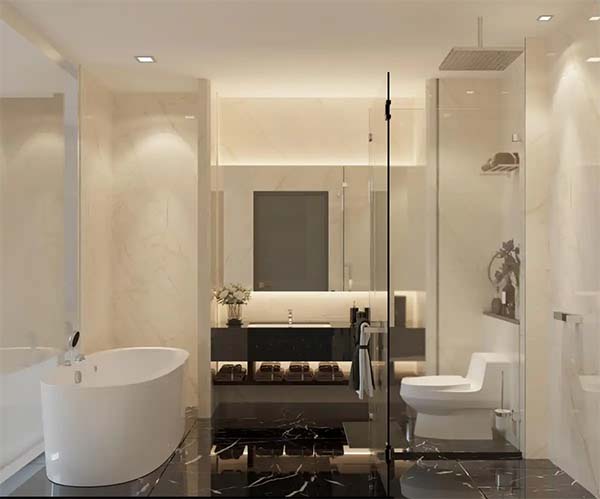
Space layout
According to the bathroom area, reasonable arrangement of toilet, wash basin, shower area and other locations. Small area bathroom can consider the use of shower room to save space, large area bathroom can be designed as wet and dry separation.
Lighting design
Good lighting is very important to the bathroom. Use overhead lights plus auxiliary lights to ensure that the space is bright. Add independent lights in front of the mirror to facilitate washing and make-up.
Ventilation
Keep the bathroom air circulated to prevent mould. Designing external windows is the best option if available. Windowless bathrooms should be installed with high-efficiency exhaust fans to keep the air fresh.
Ⅲ. Material Selection
Floor and wall materials
Choose non-slip, water-resistant materials, such as ceramic tiles. Tiles are durable and easy to clean, and antibacterial tiles are more hygienic.
Sanitary ware selection
Quality is the primary factor in choosing sanitary ware. One-piece toilets, splash-proof wash basins and water-saving shower heads are good choices. Consider the colour and shape of the sanitary ware to match the overall style.
Hardware fittings
Choose corrosion-resistant and durable materials such as stainless steel or copper. Ensure the stability and safety of hardware accessories for long-term use.
Ⅳ. Waterproof treatment
Waterproof treatment is the top priority of bathroom decoration.
Waterproof material selection
You can choose polyurethane waterproof coating, cement-based waterproof coating, etc.. According to the budget and specific conditions to choose the right waterproof material.
Construction process
Ensure that the grass-roots level is flat and dry before construction. Apply primer first, and then apply two or more waterproof coatings. Each coat needs to be dry before the next construction.
Inspection and acceptance
After the completion of the waterproofing project, carry out water closure test. Check whether there is water leakage phenomenon, to ensure that the waterproof effect is up to standard.
Ⅴ. decorative style
Bathroom decorative style should be consistent with the overall home style.
Colour matching
Choose fresh and bright colours, such as white, light blue or light green. Create a fresh and clean feeling.
Decorative details
Add aesthetics and practicality through small items such as mirrors, bath towels and toiletries. Choose waterproof performance good decorative paintings or plants, add life to the bathroom.
Ⅵ. Notes
Pre-planning
Detailed planning of the functional areas of the bathroom and storage needs. Avoid the inconvenience of later use.
Material purchase
Choose products with good brand reputation to ensure quality and safety.
Construction process
Clarify the specific requirements with the construction team and regularly check the construction progress and quality. Ensure that the decoration effect meets expectations.
Waterproofing
Choose a professional waterproof construction team to ensure that the waterproof layer is complete and long-lasting.
The sequence of bathroom remodelling involves many aspects, from design planning to material selection, to detail treatment and style creation, all of which need to be carefully considered and reasonably arranged. We hope that the above can provide valuable references and suggestions for your bathroom remodelling, and help you create an ideal bathroom space that is both practical and beautiful, comfortable and hygienic.